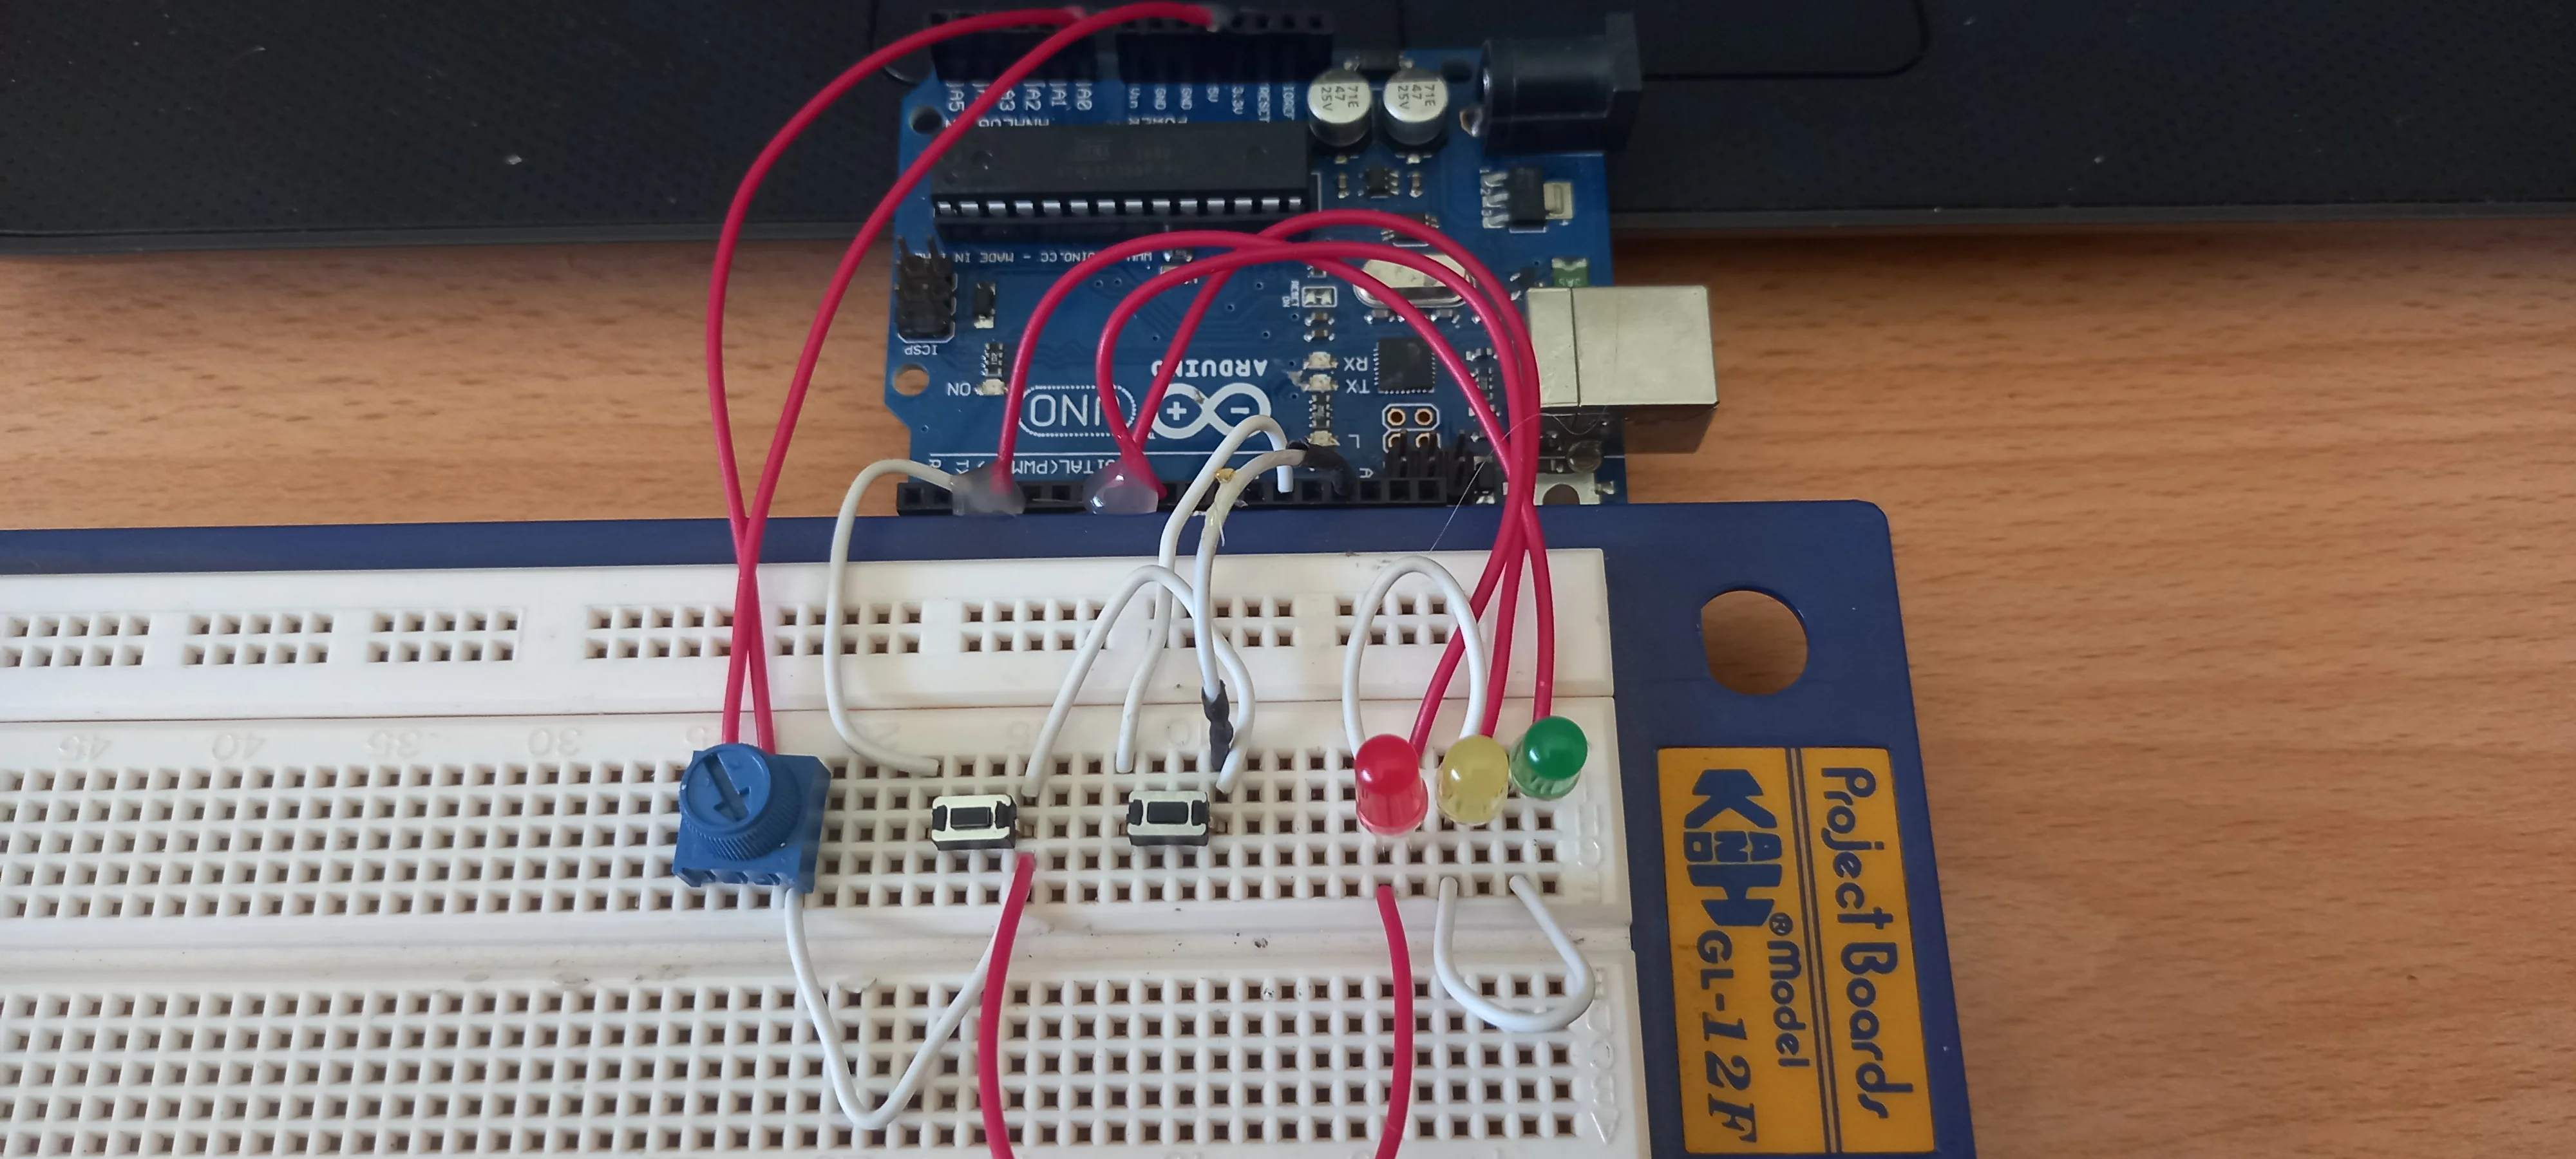
In this article, we're diving deep into the modernization of traditional welding equipment using Arduino technology. By replacing old electronic circuits with Arduino, we aim to enhance functionality, reliability, and ease of use. Let's break down how the provided Arduino code revitalizes an essential piece of welding machinery.
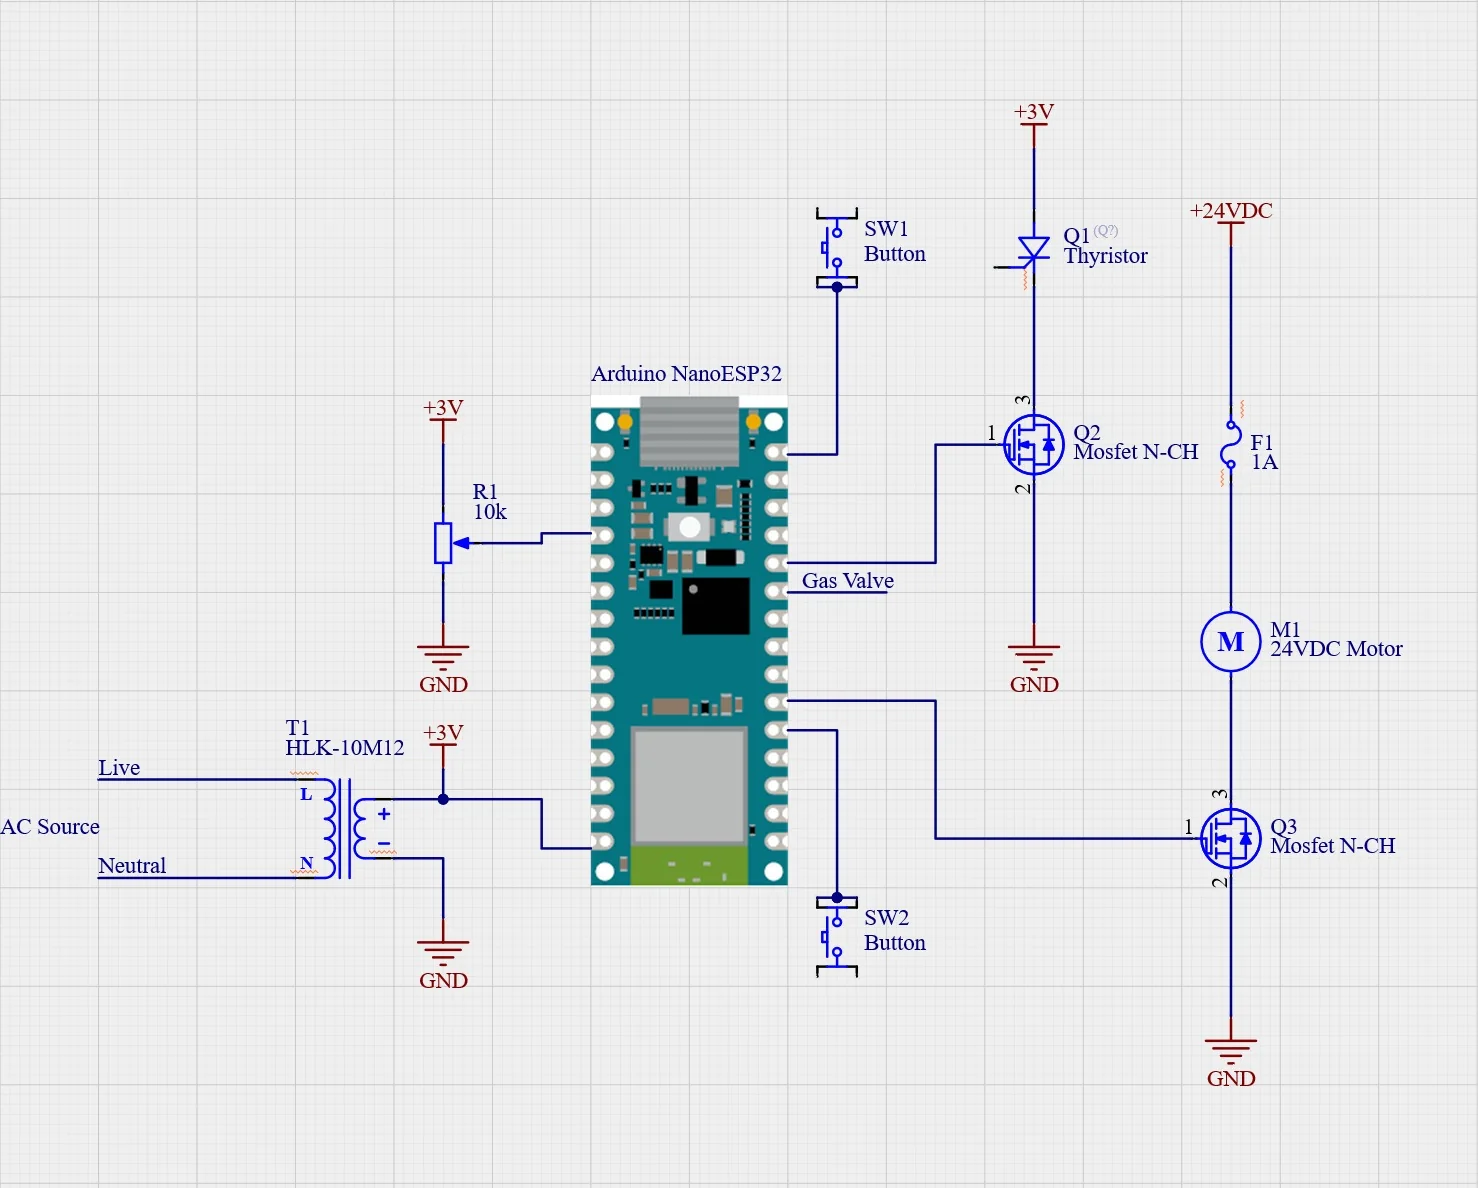
The Code Explained
The program begins by including necessary libraries and defining pins and variables. It's structured to control a welding machine's various functions such as wire feed speed, gas flow, and contactor operation, ensuring a seamless welding process.
-
Libraries and Definitions: The code starts by including the
Wire.handstdlib.hlibraries for I2C communication and standard functions, respectively. Then, it defines pins for the trigger, motor speed control, gas relay, contactor relay, and wire feed button input. Some pins are reserved for future development related to wire feed direction control. -
Global Variables: Variables are set to define minimum and maximum wire speed (
WS_MIN,WS_MAX), and gas delay time (GDEL_MIN,GDEL_MAX). A boolean flagweldingtracks the welding status. -
Setup Routine: Initializes pin modes for inputs and outputs, such as the wire speed control, trigger, gas, and contactor relays. An LED pin is also set up to indicate the system's status.
-
Main Loop: Continuously checks if the wire feed button is pressed or if the trigger is activated to start the welding process. If welding has occurred, it proceeds to disengage the system appropriately.
-
Welding Functions:
weld(): Activates welding by turning on the gas, closing the contactor, and starting wire feed. It sets theweldingflag to true and lights up an LED as an indicator.inch(): Provides functionality to feed the wire without fully initiating the welding process, useful for positioning or testing.feed_wire(): Adjusts the wire feed speed based on an analog input, allowing dynamic control over the welding wire's speed.dis_weld(): Handles the disengagement process after welding. It gradually turns off the gas and contactor while ensuring the system is ready for the next operation.
In Plain English
This Arduino code transforms a welding machine into a smarter, more user-friendly tool. It allows for precise control over the welding process with functionalities such as:
- On-demand Wire Feeding: Users can inch the wire forward as needed, making it easier to set up or adjust before welding.
- Automated Welding Process: With a simple trigger press, the machine automatically controls gas flow and wire speed, ensuring consistent welds.
- Adjustable Parameters: Wire speed and gas flow delay can be fine-tuned based on the material being welded, offering versatility across different welding tasks.
- Safety and Efficiency: The program includes mechanisms to disengage the welding process safely and efficiently, reducing waste and enhancing the user's control.
This Arduino-based upgrade signifies a leap towards modernizing traditional welding equipment, making it more accessible and efficient for users. By integrating simple code, we unlock powerful features that enhance the welding experience, showcasing the potential of combining traditional craftsmanship with modern technology.
//files to include //Credit: https://tron9000.blogspot.com/2014/07/mig-welder-rebuild-update.html #include

Written by FJ Snijman
Hardware Architect • Chemcool Electronics
Senior embedded systems designer and author at Chemcool Electronics in Centurion, South Africa. Specializing in AVR microcontrollers, ESP32 IoT nodes, and solar battery storage management.